
There’s nothing better than tasting the fruits of your labor, especially when the fruits of your labor include a salad with vegetables grown in your garden! If it’s your first time planting a garden, and you don’t know where to start, look no further. These DIY garden tips and tricks will help get your garden thriving and the lawn area looking nice. Plus, a dedicated garden space can add value to your property. If that’s not enough reason to convince you to start your own garden, you’ll absolutely love having loads of fresh vegetables to incorporate into your meals. Let’s get started!
1. Choose What You’d Like to Grow
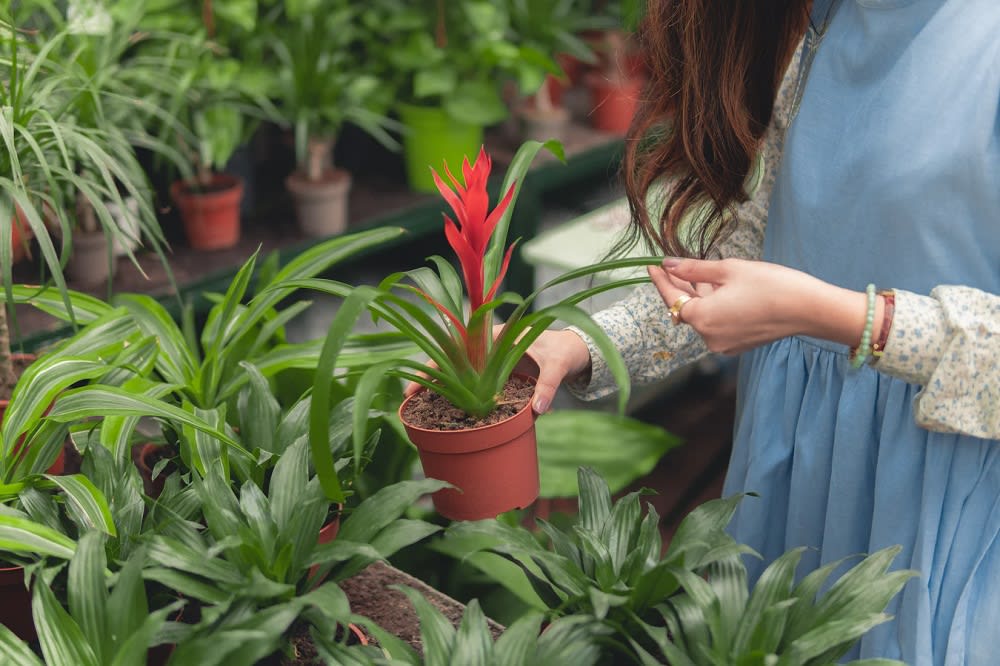
The first step in creating your DIY garden is deciding what you’d like to grow. If you prefer flowers, you’ll want to determine what type of flowers. In this region, October and November are the ideal time to plant flowering bulbs for the spring, so preparing for flowers takes a bit of forethought. Ideally, bulbs should have a month or so to acclimate themselves to their new homes in your garden prior to the ground freezing.
As a general rule of thumb, bulbs also need well-drained soil in order to thrive, so you’ll want to avoid planting bulbs in low, moist areas that tend to hold water. When it comes to sunlight, most bulbs require full to part sun to flower properly and increase in number each year. Naturally, there are exceptions to every rule, however, so it’s worth studying what is best for the particular flower you are hoping to plant!
On the flip side, if you choose to plant vegetables, you’ll want to select which vegetables exactly you’ll want to plant. I suggest focusing on the ones that your family enjoys the most, whether it be tomatoes, peas, potatoes, or anything in-between. Next, you’ll want to make sure that your top choices are conducive to the area you live in. This USDA Hardiness Zones for the Catskills is a vital tool that will provide insight on how growing conditions could affect garden plans.
2. Pick the Right Location
You know what they say - location, location, and location! When it comes to deciphering where to plant your garden, this couldn’t be more valid. Location will make a world of difference in the success or failure of your garden, so don’t underestimate how critical this component is. Most fruits and vegetables require full sun, with a minimum of five hours of direct sunlight per day for fruiting. If your available space lacks direct sunlight, I suggest opting for some greens, herbs, and fruit vegetables as these plants will still grow in partial shade.
Once you’ve assessed your area and chosen the perfect plot to start your garden, you’ll also want to think about how you will access the garden for picking, watering, and tending towards your plants. Having your garden out of sight often equals that it is also out of mind, which translates to a forgotten garden. To combat this, make sure you select a location that won’t be a hassle getting to. Additionally, you’ll want to keep an eye out for wildlife or pet damage. I know that your furry, four-legged friends are part of the family, but they can be hard on your seedlings, so it’s best to pick an area that they cannot access.
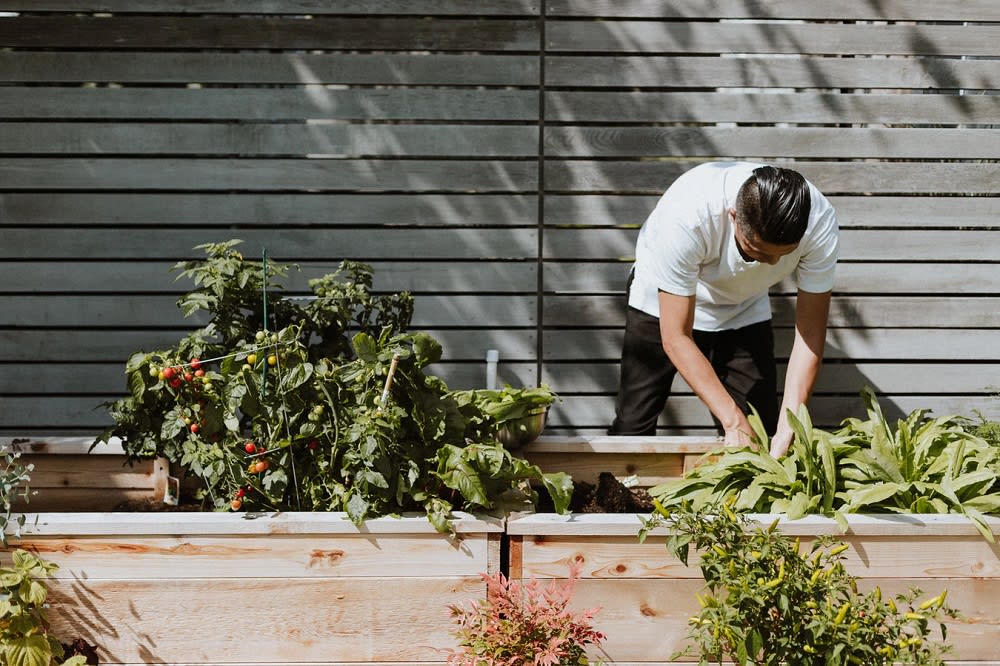
3. Prepare Your Garden Beds
Once you’ve established where you want to plant your garden, it’s time to figure out what type and size of garden beds you want to use. If you’re new to gardening, a raised garden bed is the perfect route to go. First, raised garden beds allow you to plant anywhere. Not to mention, attractive cedar raised beds are an asset to your landscape, and using a raised garden bed allows you to set plants closer together so that every square inch is utilized. Finally, because raised beds are densely planted, there’s very little room for weeds to pop up, meaning you can spend less time tackling those obnoxious weeds.
Raised beds range in height, but they typically start around six inches. There’s also a variety of raised garden beds you can choose from. This includes everything from aluminum corner kits for which you supply your own lumber to complete raised bed kits in cedar, composite wood, recycled plastic, and galvanized steel. If you prefer no-bend gardening, you can even go for elevated raised beds.
4. Ensure You Have the Right Garden Tools
If this is your first time planting a garden, then it’s time for a trip to your local gardening store to get the right tools. This will make a world of difference in gardening being a chore versus something you actually enjoy doing. While it can be easy to go overboard when selecting the right landscaping tools, it’s better to stay focused on supplies you will actually need.
Here are some essential gardening tools to invest in. Although basic, it’s recommended to begin with basic gloves. Gardening is a great hobby but can turn into a painful and splintery hassle if you don’t have the right pair of gloves. You’ll also want to invest in a rake. Rakes come in an array of styles and sizes, but a standard leaf rake will do just fine. Hoes are also extremely useful in preparing gardens and flower beds, as well as getting rid of weeds. The best type of hoe will depend on what type of garden you have.
Most importantly, avoid buying cheap or plastic tools whenever possible, and once you have acquired sturdy tools, it’s essential to keep your tools clean and sharp.
5. Prepare Your Soil
When it comes to ensuring that your garden is as successful as possible, the type of soil you choose plays a big role in this. Getting the right soil can help your plants thrive. After all, soil anchors a plant’s roots, supports its water supply, helps it breathe, and offers the nutrients that enable your plant to grow.
The majority of plants prefer deep, well-drained fertile soil that is rich in organic matter. When planting in containers, go for a potting mix formulated for appropriate drainage and space for roots to grow. When planting directly into the ground, use amendments to help boost your native, in-ground soil. Once you begin your garden, you’ll quickly gain an appreciation for healthy soil as it steadily improves year after year. Healthy and vibrant soil will result in healthy, vibrant, and happy plants!
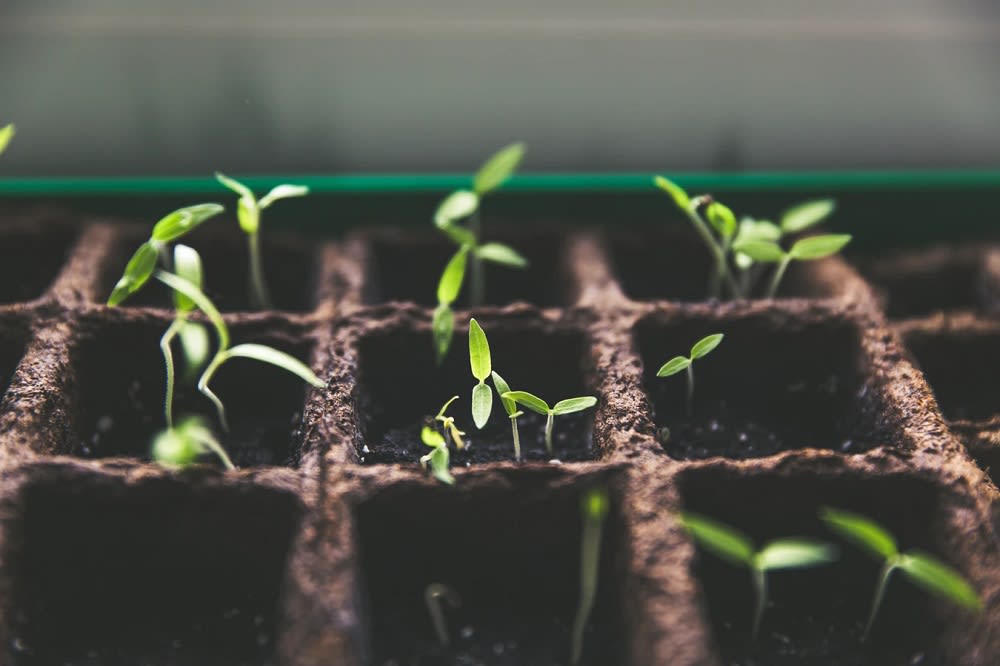
6. Choose Your Seeds
Now it’s finally time to choose your seeds! In order to learn which plants grow best directly seeded in the garden and which plants work best as transplants, take a look at the seed starting calendar. Most seed companies label the packets with basic growing information, but seed starting charts will help guarantee that you stay on track. Plus, it keeps your gardening a bit more organized, and who doesn’t love that?
It’s worth noting that if you want to plant specific varieties (particularly heirloom varieties), you’ll most likely need to grow your own transplants from seed. Plus, starting your own transplants is a great way to save money and gain more invaluable hands-on gardening experience.
7. Get the Seeds in the Ground
Are you ready to get your hands dirty? Now that all the groundwork is finally completed, the real fun begins when you start planting your seeds! This step can feel intimidating, but you just need to take the plunge and learn the rest as you go along. These are some important things to keep in mind when it finally comes to planting:
▪️ Plant seeds roughly three times as deep as the diameter of the seed unless otherwise noted on the package.
▪️ Most transplants are planted in the same depth as they were growing in the pot (the exception being tomatoes).
▪️ Wait until the danger of frost is passed to plants that love the heat — like tomatoes, peppers, cucumbers, okra, and more.
8. Enjoy the Fruits of Your Labor
After planting your seeds, it’s critical to keep up with weeding and watering. Although this step requires a bit of patience, soon enough, you’ll be able to enjoy the fruits of your labor.
Whether you’re throwing together a salad or whipping up a stir fry, these fresh vegetables will be the perfect addition to your meal. It will make all the preparation and work worthwhile!
If you are looking to explore Catskills homes for sale to start your own garden, contact Joseph Satto today. As one of the top Catskills real estate agents, Joseph is equipped and ready to help you find your next home.